Creating a Project on iap.dev
After setting up your organization, the next step is to create a project. Projects help you organize your apps and manage their in-app purchases effectively.
Accessing the Projects Page
- Log in to the iap.dev console
- Select your organization from the list
- Click on "Projects"
You'll see a list of existing projects or an empty state if this is your first project.
Creating a New Project
- Look for the "Create Project" button and click it

- You'll be presented with the following form:
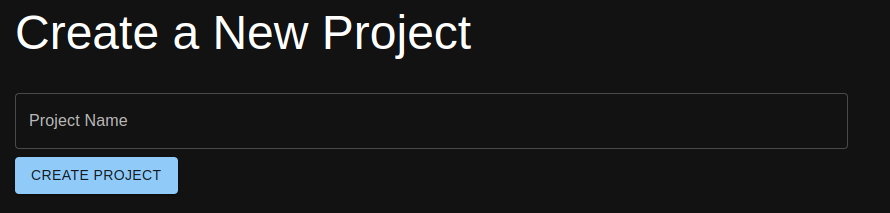
Fill in the project details:
- Name: Choose a descriptive name for your project
Once you've entered it, click "Create Project"
Next Steps
Great job! You've successfully created a project on iap.dev. Here's what you can do next:
- Set up your project's Client keys
- Create products for your project
- Create subscription products for your project
- Integrate the iap.dev SDK into your app
In the next tutorial, we'll cover how to create products within your new project.